缘起:自动生成狗狗表情包
前几天找朋友给我加需求,钰姐便提了个“自动生成狗狗表情包”的需求。不过如果真的按照需求的原意,唯一的解决方案就只有用到人工智能了。然而本人技术力实在过菜,才不匹位,只能退而求其次,找一些其他的解决方案了。
废案:爬取QQ历史头像
一开始想到的解决方案,自然是利用爬虫,这也正是本文的主要内容。后来由于细(xián)致(zhe)入(méi)微(shì)的观察,发现钰姐经常更新一些狗狗头像。于是便有了新思路,能否通过自动定时爬取钰姐的QQ头像,以自动获取狗狗表情包呢?
关于这个思路,我一开始想到的是利用“获取QQ头像”的接口进行轮询,计算当前头像哈希值并与上一次获取到的头像的哈希值作比较,若不同则保存下载。但是轮询的时间间隔实在不太好设定。因为头像的更新时间并不固定,可能一天更新数次,也可能数天更新一次。如果设定轮询间隔时间过短,会导致服务器压力过大,严重的话说不定腾讯会直接把我给 ban 了。而如果设定轮询间隔时间过长,便会导致获取到的头像大概率是有遗漏的。
考虑到更新头像终究是由人类来完成的,因此也需要考虑到利用一些社会工程学信息以对程序进行优化。比如在深夜凌晨的时候,可以适时停止爬虫以降低负载。但是考虑到这个作息规律…咳咳…还是算了吧,毕竟昨晚凌晨还刚刚看到钰姐又换了新头像来着。
(那既然我能发现别人在熬夜内卷,那岂不是说明我也是在熬夜摸鱼?)
(啊这,好像有道理诶😥)

又考虑到人类是一种优柔寡断的生物,所以每次换完头像后的一段时间内,都有较高的概率再次换个头像。因此在侦测到头像更新后,可以调高在未来一段短时间内的轮询频率。但是这也不能排除在提高轮询频率之前的遗漏情况。
况且,这个解决方案所收集到的表情包数量还是及其有限的,如果想要收集到足够数量的头像,估计早过 deadline 了。
综上所述,这个方案还是被 pass 掉了。
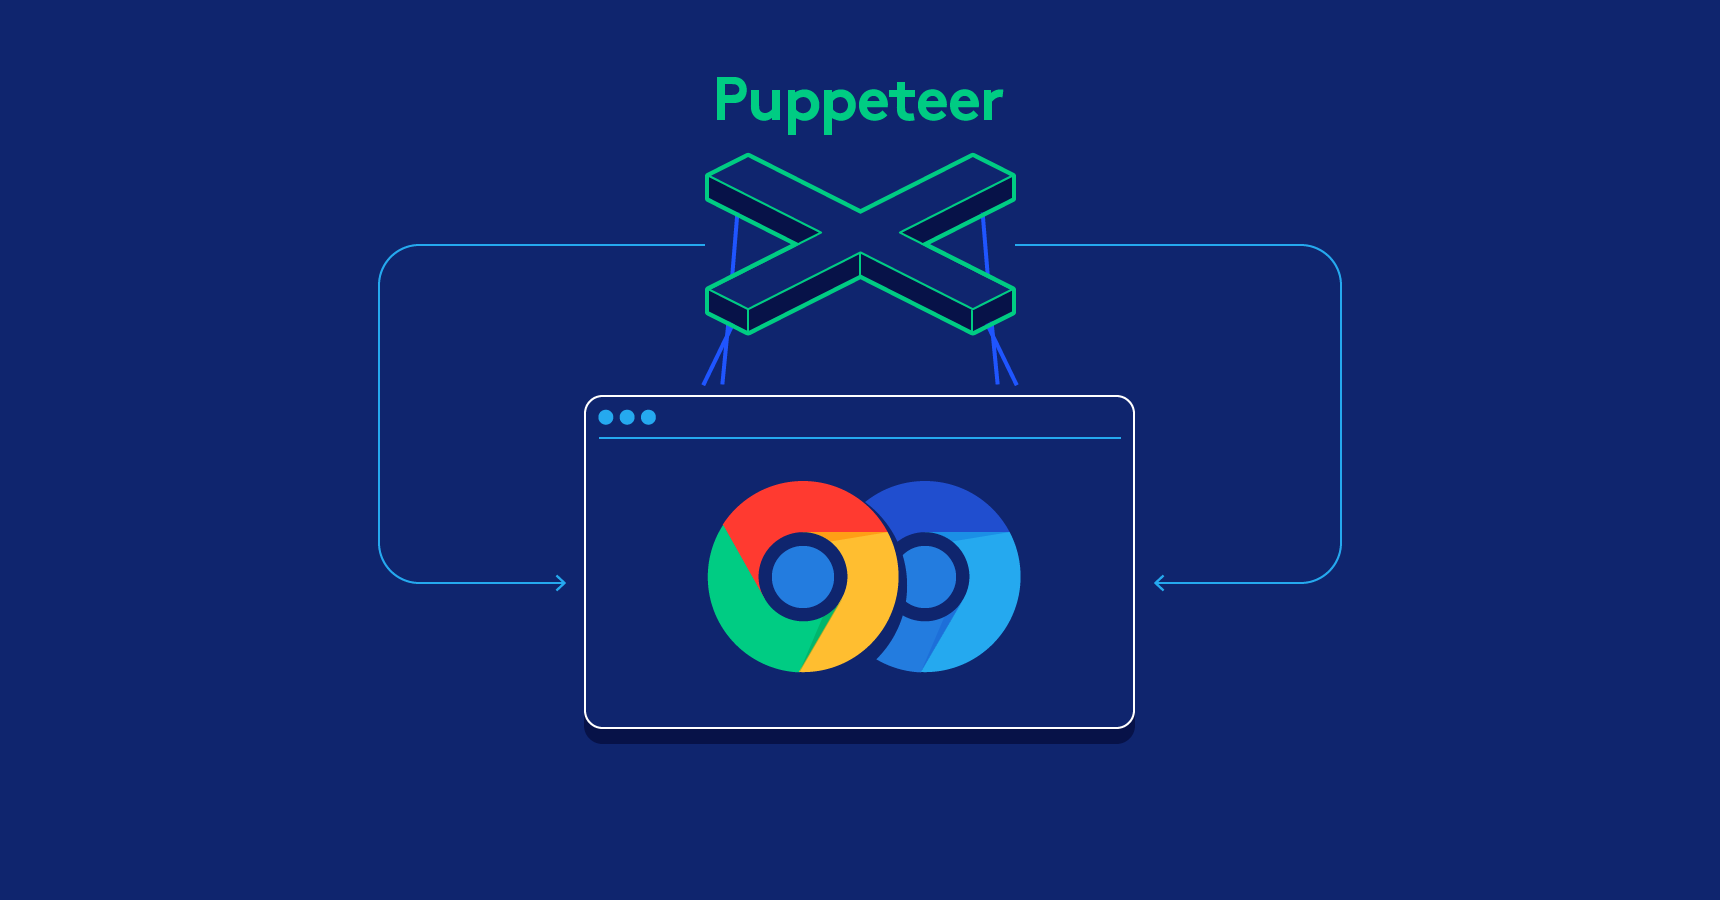
预备:从 Selenium 到 Puppeteer
上面的方案废弃后,自然便是在网上找一些适合爬取的网站进行爬虫了。
在知乎上搜索“狗狗表情包”关键字,回答数量最多的问题下也不过只有十几个回答。Pass。
找到一些表情包网站,搜索关键字,质量过低。Pass。
百度图片搜索关键字,结果还行,然而对百度没什么好感,有谷歌我还用什么百度。Pass。
于是将目标锁定到了 Google Images.
预调试阶段,利用 devtools 的 network 栏发现虽然图片是动态加载,但是并没有使用 Fetch/XHR,而是在发送了一些 Other 类的 imgevent 请求,具体原理我也不清楚。因此这里也不能用普通的 Request 解决了。之前记得听说过一种叫做 Chrome headless 的东西,搜索之后发现了 Selenium,遂开始准备学习 Selenium 进行爬虫。不过文章写到这儿的时候又发现了 Google 搞了个 Puppeteer 东西,貌似对 NodeJS 更加易用一些,然后便又转战 Google Puppeteer 了。
Puppeteer 的官方介绍:
Puppeteer is a Node library which provides a high-level API to control Chrome or Chromium over the DevTools Protocol. Puppeteer runs headless by default, but can be configured to run full (non-headless) Chrome or Chromium.
自己稍微翻译一下:
Puppeteer 是一个 Node 库,它在 DevTools 协议之上提供了高度封装的 API,以用来控制 Chrome 或 Chromium. Puppeteer 会默认运行 headless, 但是可以通过进行配置来运行完整版的 (non-headless) Chrome 或 Chromium.
正文:就硬爪巴
首先看一下 Puppeteer 的官方文档。
接着老三样:
mkdir dog-stickers
cd dog-stickers
npm init -y
echo node_modules > .gitignore
git init
安装 puppeteer:
npm install puppeteer
如果没有自动下载 Chromium,需要自己手动下载:
cd node_modules/puppeteer
npm install
接下来写个 demo 测试一下,在项目根目录新建一个 index.js,写入:
const puppeteer = require('puppeteer');

(async () => {
  const browser = await puppeteer.launch();
  const page = await browser.newPage();
  await page.goto('https://example.com');
  await page.screenshot({ path: 'example.png' });

  await browser.close();
})();
然后 node index.js,如果项目根目录下面生成一张截图文件,说明安装成功了。
然后只要再稍微加几行代码(迫真),我们的程序就完成了:
import { promises as fs } from 'fs';
import puppeteer from 'puppeteer';

async function isReachedBottom(page) {
     return await page.evaluate(() => {
          const scrollHeight = document.documentElement.scrollHeight;
          const clientHeight = document.documentElement.clientHeight;
          const scrollTop = document.documentElement.scrollTop;
          return scrollHeight === Math.round(clientHeight + scrollTop);
     })
}

async function getLoadingStatus(page) {
     return await page.evaluate(() => {
          return document.querySelector(".DwpMZe").getAttribute('data-status')
     })
}


(async () => {
     const browser = await puppeteer.launch({ headless: true });
     const page = await browser.newPage();
     /* 这里要重新设置视窗大小,
     一是因为默认的视窗大小会导致浏览器出现横向滚动条,调大窗口可以方便调试,
     二是因为我猜测 Google Images 对于不在视窗范围内的图片 URL 可能不会进行加载,
     使用默认视窗大小总会出现大量 Empty 的情况,不知道是不是我猜测的原因。*/
     await page.setViewport({
          width: 1280,
          height: 720,
     });
     await page.goto('https://www.google.com.hk/search?q=image&tbm=isch');
     // 滚(doge
     /* 这里 scrollBy 和 waitForTimeout 的参数大小都是经过 N 多次调试确定的,
     scrollBy 太大、waitForTimeout 太小会因为滑动过快而导致出现遗漏情况,反之则会导致耗时过长。
     这里的参数和运行环境的网速、配置等都有关系,所以在其他 PC 上并不能保证能够完美运行。*/
     while (true) {
          await page.evaluate(() => window.scrollBy(0, 200))
          await page.waitForTimeout(100);
          if (await isReachedBottom(page)) {
               if (await getLoadingStatus(page) !== "1")
                    break;
               else
                    console.log(`Loading new images...`)
          };
     }
     // 爪巴.jpg
     const images = await page.evaluate(() => {
          const list = [...document.querySelector('.islrc').children];
          return list.map(div => div.firstChild.firstChild.firstChild.src)
     })
     console.log(`All: ${images.length}\nEmpty: ${images.filter(src => src === "").length}`)
     // 拿来吧你.jpg
     await fs.writeFile('images.json', JSON.stringify(images, null, 4));
     // 今天的狗狗就看到这儿了.jpg
     await browser.close();
})();
说几个要注意的点,首先是我使用了 import 语句,所以需要在 package.json 中加一行 "type": "module"。其他需要注意的点都写在代码注释里面了,这里就不赘述了。
程序运行完成之后会在项目根目录创建 images.json 文件,里面保存图片的 URL 地址。其中有些是图片链接,有些是直接以 base64 的形式储存起来,还有的是 null。至于为什么会出现 null 我也懒得去深究了,反正总数还是很少的。
对了,Puppeteer 的文档有这样一段话:
Puppeteer has event-driven architecture, which removes a lot of potential flakiness. There’s no need for evil “sleep(1000)” calls in puppeteer scripts.
感觉我代码里面也没少写 sleep() 呀😅,也许只是因为我太菜了吧。
下载
获取到 images.json 后就好说了,遍历链接下载即可:
import { promises as fs } from 'fs';
import download from 'download';

async function downloadFromBase64(path, url) {
    const data = url.replace(/^data:image\/\w+;base64,/, "");
    await fs.writeFile(path, data, 'base64');
}

async function downloadFromUrl(path, url) {
    await fs.writeFile(path, await download(url));
}


(async () => {
    const links = JSON.parse(await fs.readFile("images.json", { encoding: "utf-8"}));
    links.forEach(async (link, index) => {
        if (/^http/.test(link)) {
            await downloadFromUrl(`images/${index}.jpeg`, link)
            console.log(`Downloaded images/${index}.jpeg...`)
        } else if (/^data/.test(link)) {
            await downloadFromBase64(`images/${index}.jpeg`, link)
            console.log(`Downloaded images/${index}.jpeg...`)
        }
    })
})()
Google Images 的预览图好像都是 jpeg 格式的,所以这里就全部默认扩展名为 jpeg 了。
下载的图片会保存在项目根目录的 images 文件夹。
总结
通过这个项目,主要是学习了一点 Puppeteer 的基础使用(真的是非常基础了),尽管自己写的代码并不怎么优雅。不过日后也不知道也不知道还能不能再用到这个库。另外就是感觉自己最近一个月正经项目没怎么写,反倒是各种脚本都写了一堆了😹