
前言
首先简要介绍一下 Hall of Fame 吧,这其实就只是我自己开发的一个用于管理、分发我的一些朋友们的聊天记录截图表情包的 App。本来是想着和朋友合作,自己只负责后端开发来着,然而负责 Android 和 Web 客户端开发的那边一直还有其他需求,导致这边的工期一直在鸽。到了后面,我就接手的这个项目的客户端方面的开发,然而上面的其实并不是主要原因。主要还是因为最近我对 Flutter 这种大前端的技术栈比较感兴趣,想要学习一下。而且这个 App 的复杂度又恰到好处,因此就正好使用它来练手了。
总的来说,Flutter 的上手难度在我个人角度看来还算是比较简单的。从从未接触过 Flutter,到独立开发出一个相对完整的 App,中间也不过只有两周左右。另外从一名 Web 前端开发者的视角来看,使用 Flutter 开发界面的难度还是要相对高于传统的 Web 开发的,尤其是在自定义方面,一旦写起样式来各种嵌套又要写一堆了…但是 Google 默认提供的 Material Design UI 库对于没有视觉要求的指定风格的情况来说还是蛮够用的;另外官方也提供了一套 iOS 风格的 Cupertino UI 库,但是我还没有尝试过这个,不知道实际体验效果如何。至少就此来看,使用 Flutter 来进行一款跨端的小品类应用开发确实是一项不错的选择。至于大型项目,虽然 Flutter 版本已经迭代到了 2.5+,但是相对于其他已经发展了数年的 Native/Web 开发方案来说,还不能说是特别成熟。就比如我在下文中提到的一些坑,至今官方还没有提供相应的瀑布流库。闲鱼对此选择的路线则是自研,不过我种初学者自然是没有人家这种专业团队的实力,于是只能乖乖的在社区里找一些开源库先用着。
至于性能方面,就我的 Hall of Fame 而言,采用 Release 模式下在 Android 平台上是几乎感受不到与 Native App 的差距的,包括我的做 Android 开发的朋友对此也是赞叹有加。另外说来离谱,在 Linux 环境下,用 C++ 编译成原生 Linux 二进制的可执行程序的动画性能,是肉眼可见地低于在 Linux 平台下 Chrome 上的性能的。Linux 原生程序运行时可以明显的看到掉帧,而在 Windows 和 Chrome 上则比较流畅。
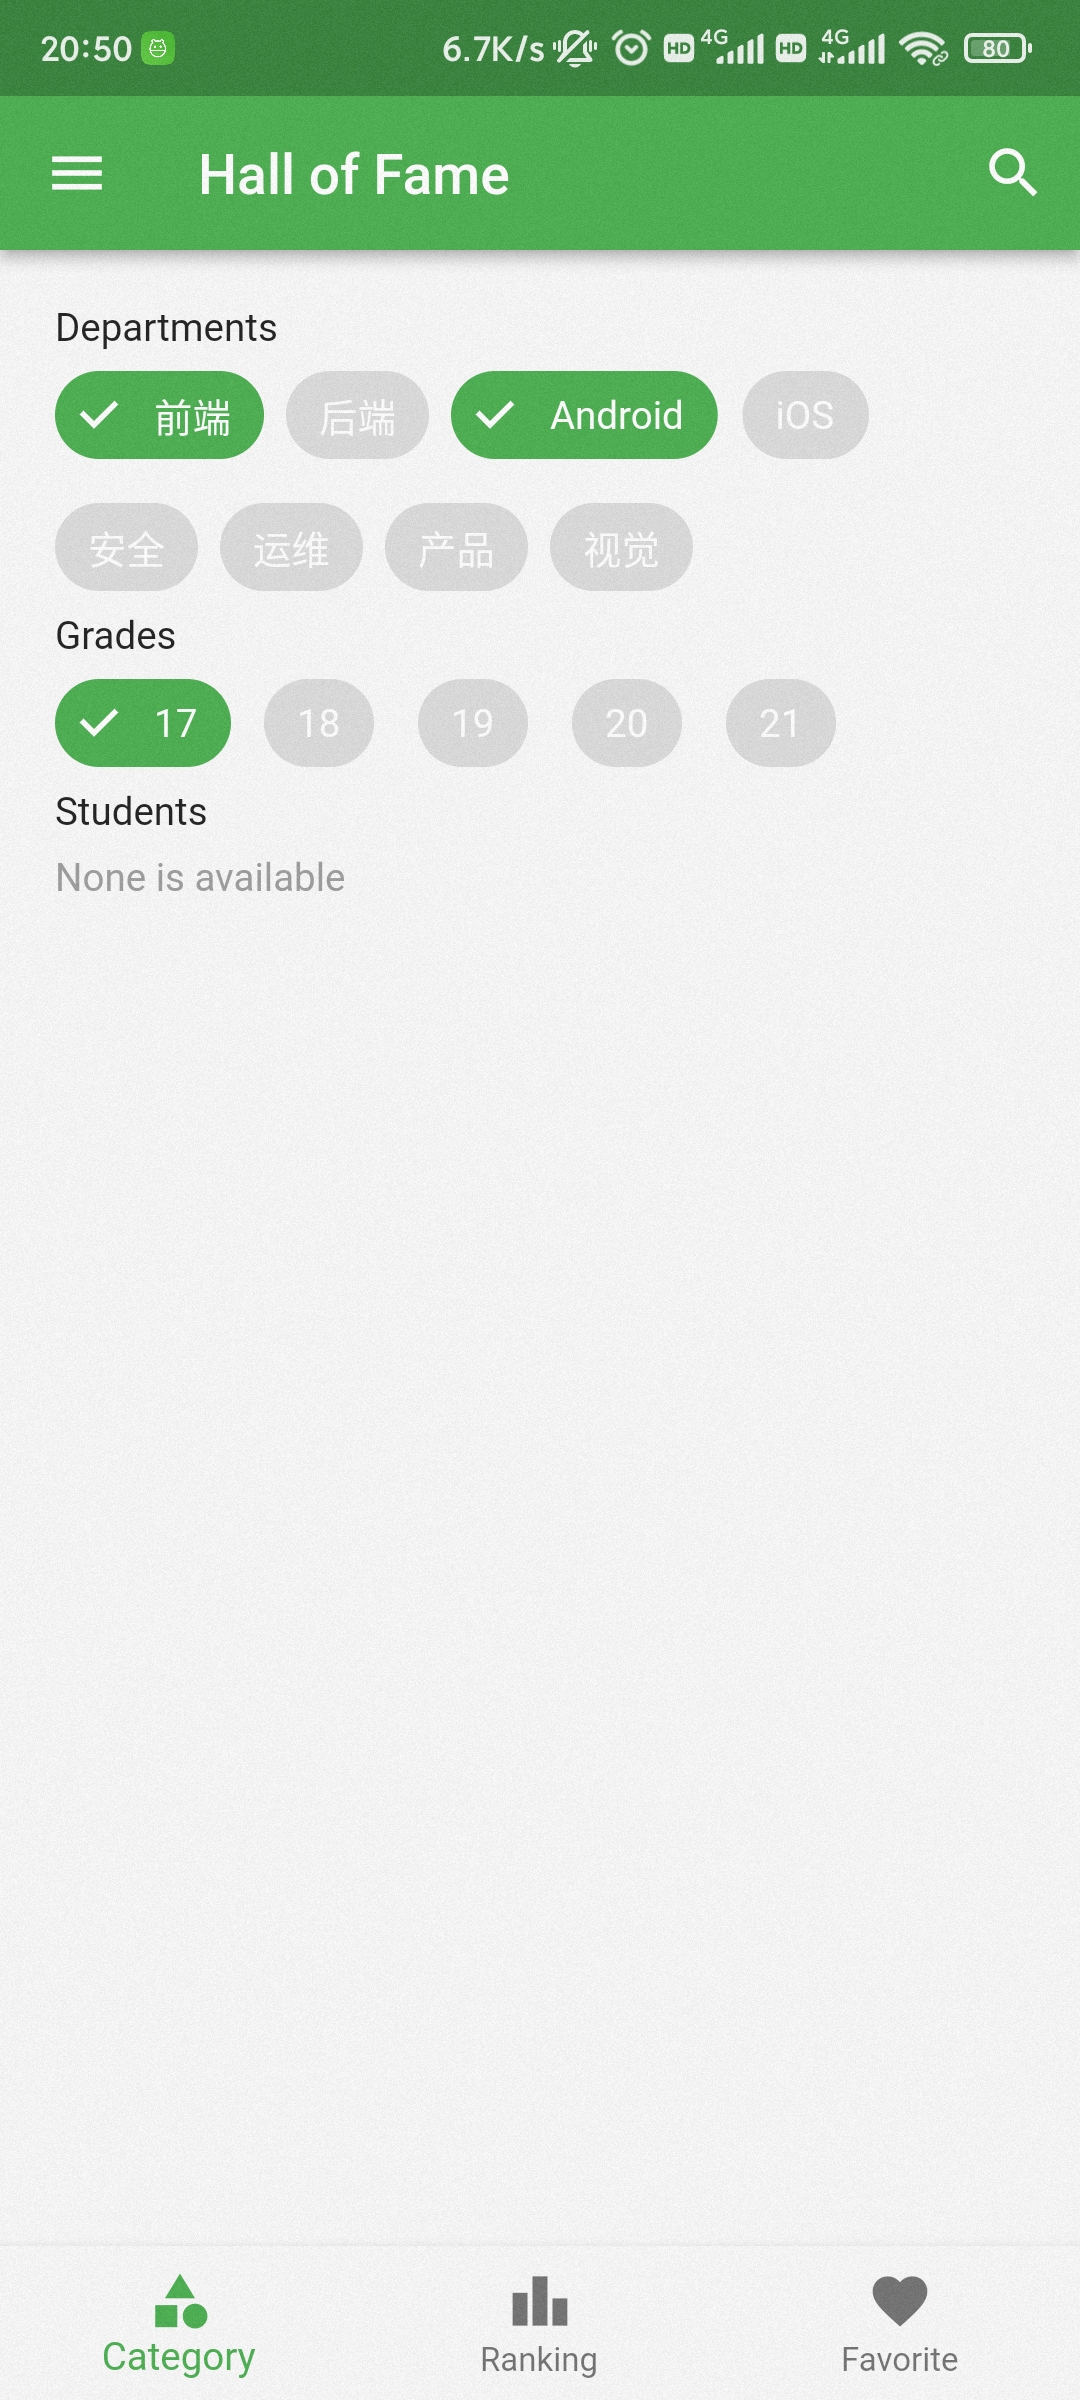
下面贴下这个项目的 Github 地址:https://github.com/hall-of-fame/hof-flutter-md,以及首屏图:
下面则是讲一下我在使用 Flutter 进行开发的过程中遇到的一些问题:
导航栏标签页 keep-alive
一般的标签页切换
在 Flutter 中,如果我们想通过 BottomNavigationBar 实现一个简单的标签页切换功能,可以在官方文档对于
BottomNavigationBar class 的介绍看到一些简单示例。这里我们以之为基础,再次对其进行简化,可以得到下面一个只有 32 行的简单结构:
class MyStatefulWidget extends StatefulWidget {
  const MyStatefulWidget({Key? key}) : super(key: key);
  State<MyStatefulWidget> createState() => _MyStatefulWidgetState();
}

class _MyStatefulWidgetState extends State<MyStatefulWidget> {
  int _selectedIndex = 0;
  static const List<Widget> _widgetOptions = <Widget>[
    Text('Index 0: Home'),
    Text('Index 1: Settings'),
  ];

  Widget build(BuildContext context) {
    return Scaffold(
      body: Center(child: _widgetOptions.elementAt(_selectedIndex)),
      bottomNavigationBar: BottomNavigationBar(
        items: const <BottomNavigationBarItem>[
          BottomNavigationBarItem(
            icon: Icon(Icons.home),
            label: 'Home',
          ),
          BottomNavigationBarItem(
            icon: Icon(Icons.settings),
            label: 'Settings',
          ),
        ],
        currentIndex: _selectedIndex,
        onTap: (int index) => setState(() => _selectedIndex = index),
      ),
    );
  }
}
问题引入:无法保存组件状态
事实上,对于上文中的最小样例,这么写是完全没有问题的。但是随着软件功能的复杂化,一些问题可能就会暴露出来。比如,我们将上文中的 Text
组件换为 TextField 标签试一下:
class MyStatefulWidget extends StatefulWidget {
  const MyStatefulWidget({Key? key}) : super(key: key);
  State<MyStatefulWidget> createState() => _MyStatefulWidgetState();
}

class _MyStatefulWidgetState extends State<MyStatefulWidget> {
  int _selectedIndex = 0;
  static const List<Widget> _widgetOptions = <Widget>[
    TextField(),
    TextField(),
  ];

  Widget build(BuildContext context) {
    return Scaffold(
      body: Center(child: _widgetOptions.elementAt(_selectedIndex)),
      bottomNavigationBar: BottomNavigationBar(
        items: const <BottomNavigationBarItem>[
          BottomNavigationBarItem(
            icon: Icon(Icons.home),
            label: 'Home',
          ),
          BottomNavigationBarItem(
            icon: Icon(Icons.settings),
            label: 'Settings',
          ),
        ],
        currentIndex: _selectedIndex,
        onTap: (int index) => setState(() => _selectedIndex = index),
      ),
    );
  }
}
如果你试着跑了一下上文的代码,你会发现代码依旧可以通过编译,也可以正常运行。但是如果你在其中一个 TextField
输入了一段文字,然后点击底部导航栏切换到了另一个标签页,然后再切换回来,你会发现你之前在 TextField 的内容已经被清空掉了。
这是因为,当你切换到另一个标签页时,Flutter 会将原先的标签页的组件给销毁掉,并创建一个新的你所选择的标签页(或者说是组件)。当你返回原来的页面时,也会执行一遍同样的操作,这时,这个页面已经不是原来的那个页面了。
如果我们使用是的 React (Native) 或者是 Vue,我们可以简单地通过 <keep-alive> 标签达到状态保存的目的,但是 Flutter 似乎就没有这么方便了😥。
解决方案:Automatic Keep Alive Client Mixin
于是然后我在 Google, StackOverflow, Github 上的一番求索,最终所找到的解决方案,都还是不太完善,比如可能会触发组件多次不必要的重新渲染,使用 Stack & Opacity 隐藏组件导致性能问题等等。最后,反而是在俄语课课间休息摸鱼时在知乎上找到了一个解决方案。
这个方案使用的是 AutomaticKeepAliveClientMixin,按照它的方法,对上文中的示例代码进行修改后可得:
class RootScreen extends StatefulWidget {
  _RootScreenState createState() => _RootScreenState();
}

class _RootScreenState extends State<RootScreen> {
  PageController _pageController = PageController();
  int _pageIndex = 0;

  Widget build(BuildContext context) {
    return Scaffold(
      body: PageView(
        children: <Widget>[
          HomeScreen(),
          SettingsScreen(),
        ],
        controller: _pageController,
        onPageChanged: (index) => setState(() => _pageIndex = index),
      ),
      bottomNavigationBar: BottomNavigator(
        selectTab: (index) => _pageController.jumpToPage(index),
        selectedIndex: _pageIndex,
      ),
    );
  }
}
以其中的 HomeScreen 为例:
class HomeScreen extends StatefulWidget {
  _HomeScreenState createState() => _HomeScreenState();
}

class _HomeScreenState extends State<HomeScreen>
    with AutomaticKeepAliveClientMixin {
  bool get wantKeepAlive => true;

  Widget build(BuildContext context) {
    super.build(context);
    return Center(child: Text("Home"));
  }
}
即可。
Ref: Flutter Case Study: Multiple Navigators with BottomNavigationBar
瀑布流展示
Scrollable View 嵌套
当我们尝试在可滚动 View(如ListView/GridView )中的 children 中嵌套可滚动 View 时,会出现以下报错:
════════ Exception caught by rendering library ═════════════════════════════════
The following assertion was thrown during performResize():
Vertical viewport was given unbounded height.

Viewports expand in the scrolling direction to fill their container. In this case, a vertical viewport was given an unlimited amount of vertical space in which to expand. This situation typically happens when a scrollable widget is nested inside another scrollable widget.

If this widget is always nested in a scrollable widget there is no need to use a viewport because there will always be enough vertical space for the children. In this case, consider using a Column instead. Otherwise, consider using the "shrinkWrap" property (or a ShrinkWrappingViewport) to size the height of the viewport to the sum of the heights of its children.
这时我们在内层的 View 中可以插入 shrinkWrap: true,即可解决报错。但是此时这个 View 将会无法滚动,我们可以继续在后面插入:
physics: NeverScrollableScrollPhysics(),即可完美解决以上问题。
flutter_staggered_grid_view 库的简单使用
flutter_staggered_grid_view 是一个可以便捷实现瀑布流布局的 Flutter 库。一般地,要想使用它,我们需要首先导入:
### file: pubspec.yaml

dependencies:
  // ...
  flutter_staggered_grid_view: ^0.4.1
/// file: your_widget.dart

import 'package:flutter_staggered_grid_view/flutter_staggered_grid_view.dart';
由于官方文档比较残缺,所以这里简要记录一下对于“内部组件宽度相同、数量不定的纵向瀑布流”的实现:
return ListView(
  padding: EdgeInsets.all(20),
  children: [
    // 此处省略部分固定且无关的组件...
    StaggeredGridView.countBuilder(
      // 横向分两个“比例”
      crossAxisCount: 2,
      // 防止嵌套 Scrollable View 导致报错
      physics: NeverScrollableScrollPhysics(),
      // 防止本例中的 ListView 无法滚动
      shrinkWrap: true,
      // 样式相关
      mainAxisSpacing: 4.0,
      crossAxisSpacing: 4.0,
      // 组件的数量,不填会一直调用 itemBuilder 并不断抛出异常
      itemCount: filtedStickers.length,
      // 对于给定的 index,返回对应组件实例
      itemBuilder: (context, index) =>
          StickerCard(filtedStickers[index]),
      // 对于给定的 index,返回对应组件的宽度占比(相对于 crossAxisCount)
      staggeredTileBuilder: (index) => const StaggeredTile.fit(1),
    ),
  ],
);